A new connection is needed
New projects require an additional connection—let's do it!
Here I am with a new project (although I still have to tell you about all the others—there’s time) that will keep me busy for quite a while with studying, testing, mistakes, failures, and successes. Soon I’ll be buying a 3D printer, specifically the Bambulab H2D (or H2S).
After doing a lot of research and getting help from ChatGPT, I discovered that 3D printing isn’t just “design a part -> print.” There’s a whole world behind it that needs to be studied and understood. Filaments, filament properties and characteristics, nozzles, hotends, drying, axes, software, waste, build plates, accessories, and connectivity.
Some filaments produce odors and particles that are harmful to humans. Since I don’t want to harm either myself or my partner, I can’t keep the printer in the house, and I have no simple way to vent fumes and odors outside.
The only solution is to put everything in the garage, but there’s a problem: the connection. I want to control the printer from inside the house, and to do that I need to get internet underground. Since I live in a rented property and in a condominium, things get complicated. I considered several options: Ethernet cable, Wi-Fi extender, 4G modem, and powerline. I don’t want to ask the landlord or the other residents for permission, so the best solution in my case is definitely powerline.
Initially, I bought the TP-Link TL-PA717 KIT. Big mistake! I don’t know what happened during the purchase, but I was absolutely convinced I was buying a powerline adapter with a passthrough socket. Haha.
Besides buying the wrong model, I was also disappointed by its performance. I returned it and bought the TP-Link PG2400P KIT. This time it works great. Unfortunately, I don’t have screenshots of the speed tests, but my ping went from 500 ms to 50 ms, while download and upload speeds doubled, reaching 15 Mbps and 5 Mbps respectively. I have a 2.5 Gbps FTTH connection and the result is poor, but considering that the route could be quite long and I only need it for the 3D printer, it’s more than good enough. It also solved the network instability I was experiencing with the first powerline adapter.
I almost forgot: I connected the powerline adapter to a TL-WR840N configured in Access Point Mode.
At the location of the garage outlet, I also have the garbage bins, while the 3D printer will be placed on the opposite side of the outlet. Initially, with the idea of making things as simple as possible, I decided to create a support so I could keep the AP and any power strips close to the outlet as well.
In the end, I got cable ducts, extension cords, an Ethernet cable, a power cable, and a power strip, and moved everything closer to the 3D-printing area. This allowed me to achieve a much cleaner and more organized result.
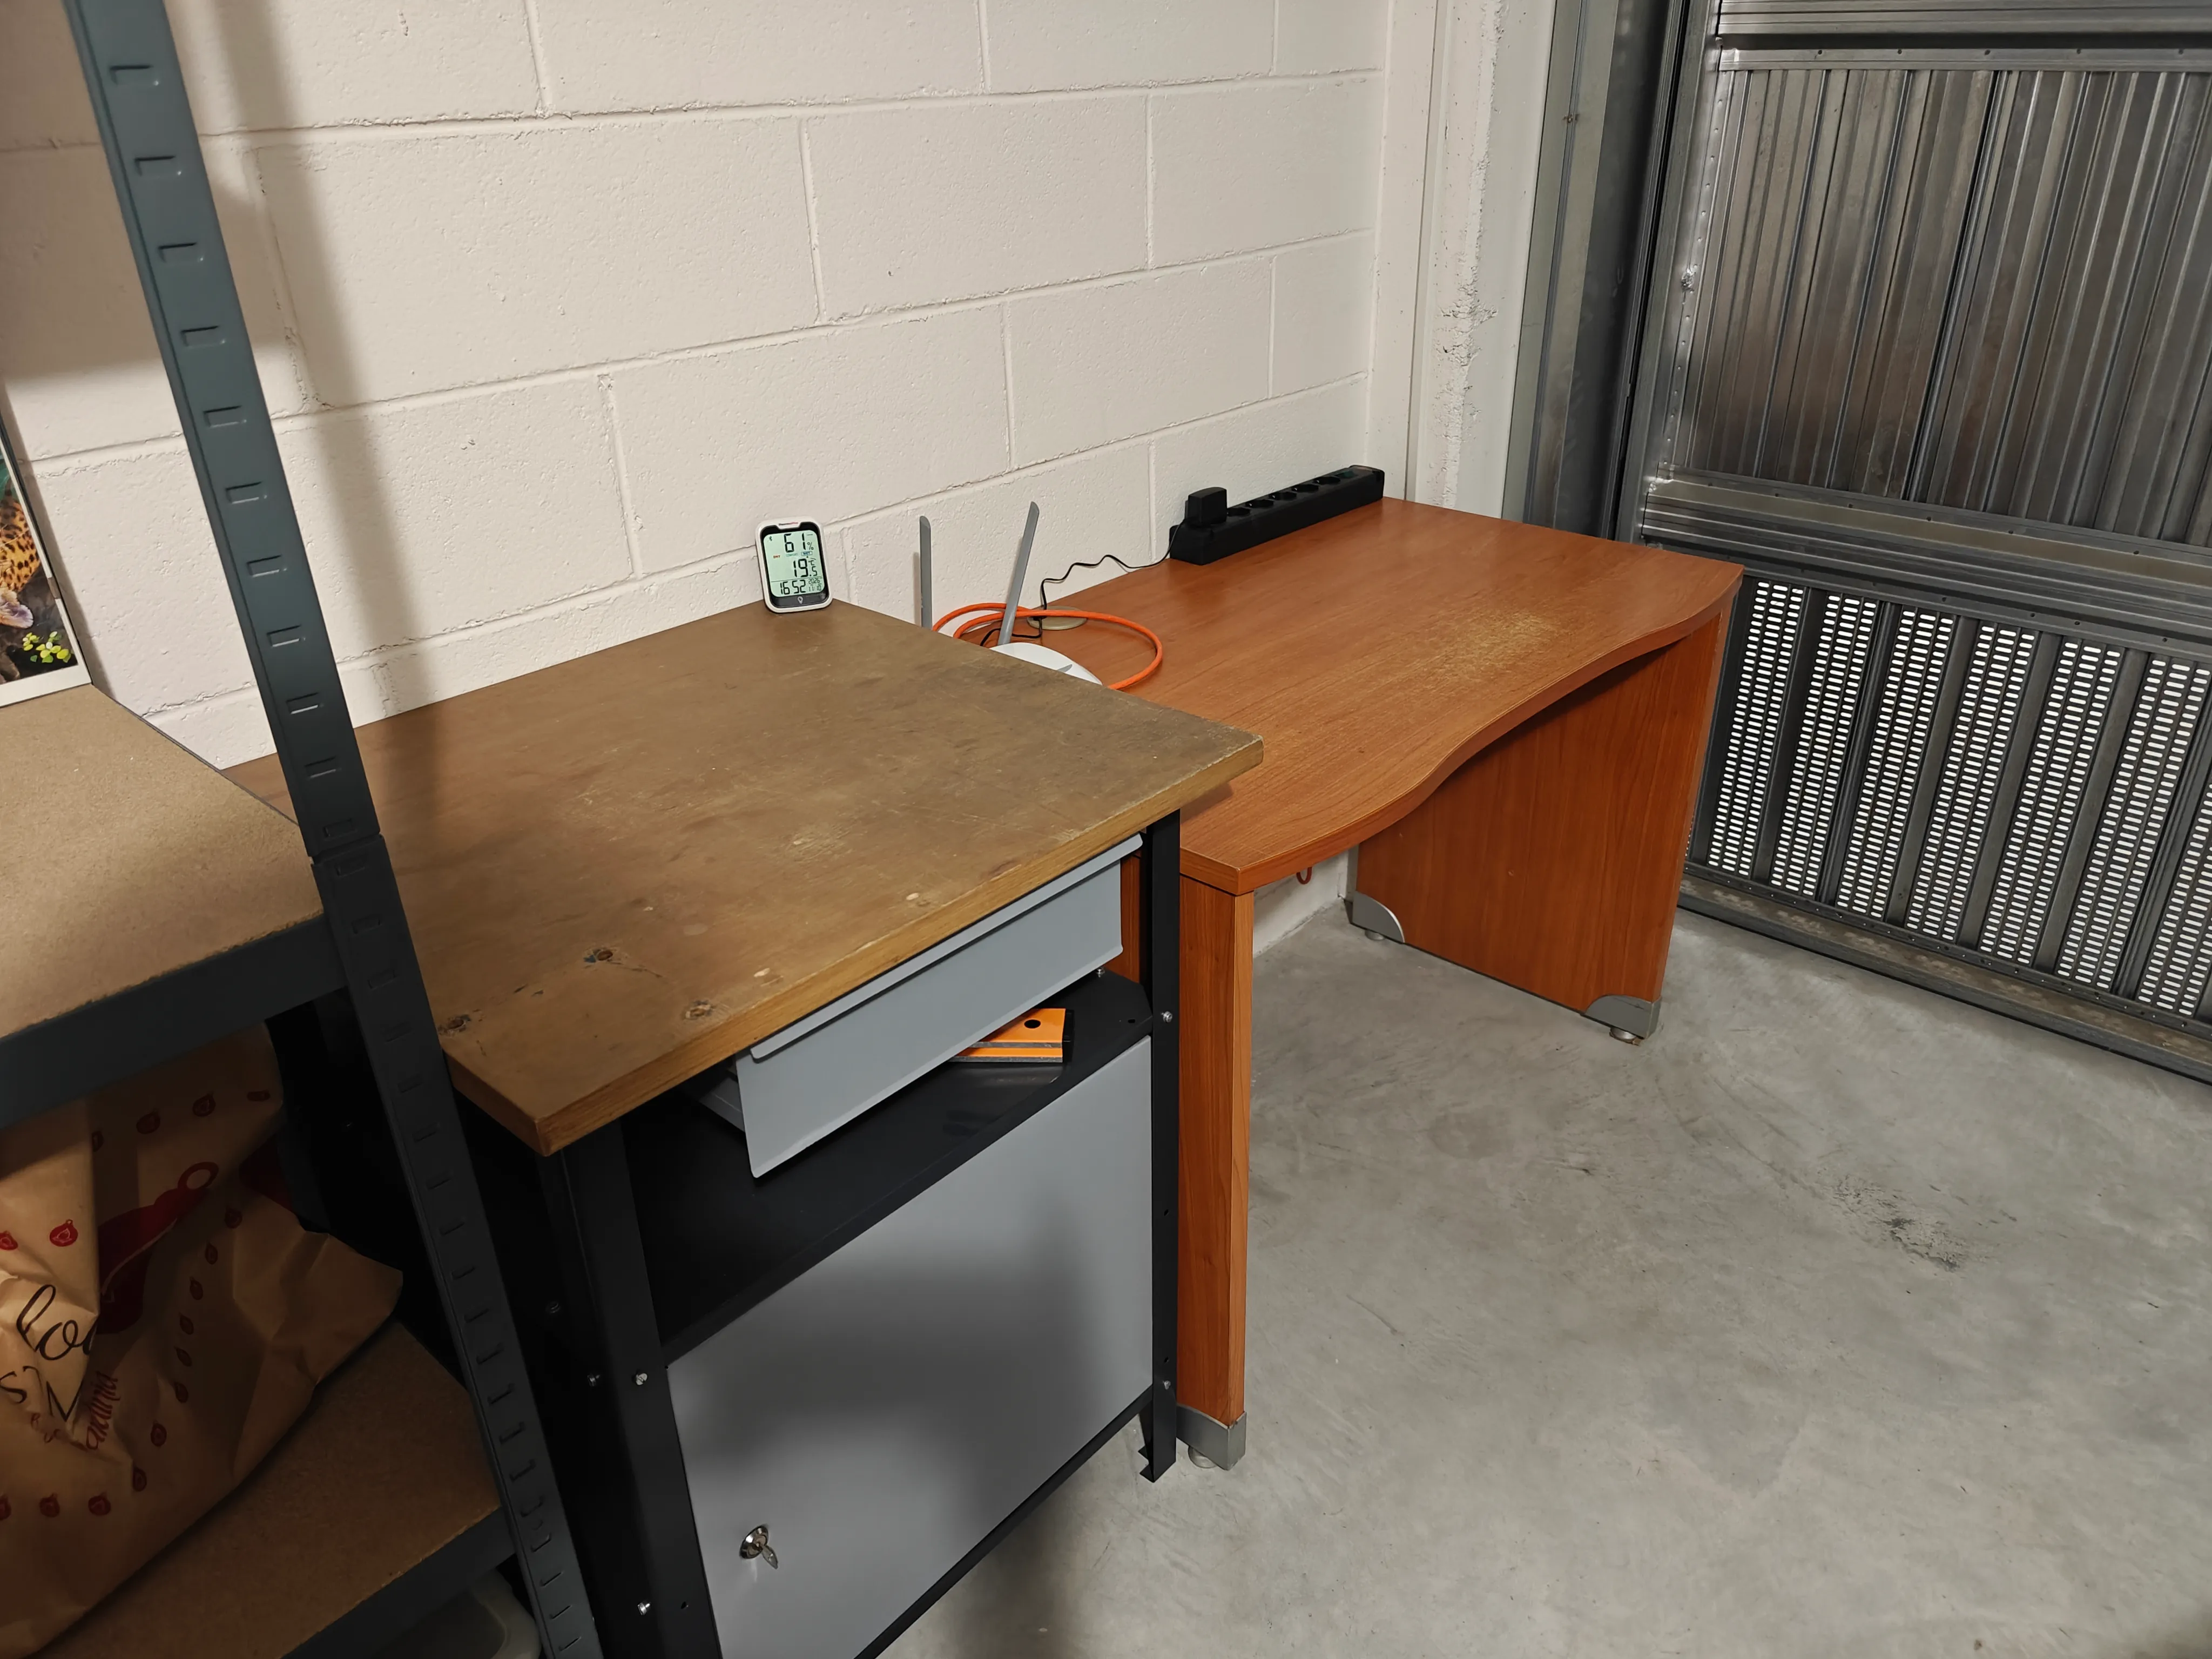
The workbench and desk were repurposed from previous uses. Now all that’s missing is the 3D printer, AMS, and various other things I’ll reveal in the future.
I already have a few projects in mind, and MakerWorld is full of things I’d like to print (cable organizers, tea dispensers, various adapters, cleaning tools, etc.).
Before downloading random STL files and printing things that might not be very useful to me, I want to reorganize some nooks in the house. For example, the cabinet where I keep the plates and cups, or the bookcase in my study.
So my first projects will be “supports” for stacking plates and organizers to arrange the bookcase more effectively. I’ll definitely take inspiration from some projects online, but I want to learn how to use Fusion.
I’ll also print dry pods for the AMS like these and a small stool (I still need to decide whether it makes sense) like this one.
The connection is in place and the workbench is ready. Now all that’s missing is the printer; then the testing will begin.